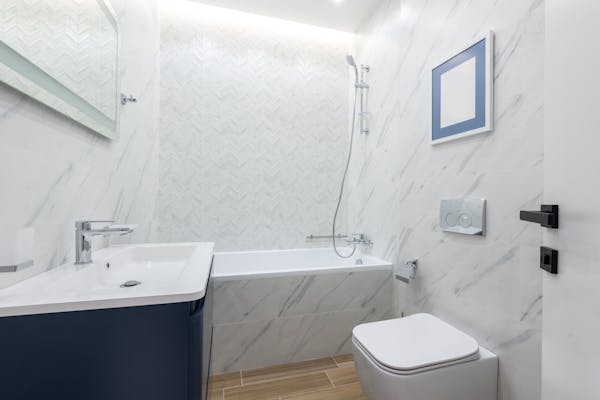
The shower wall is becoming an increasingly popular choice for many homeowners when choosing the ideal backdrop for their bathroom. Not only does it offer a fantastic range of choice in terms of designs, colors, and textures, but it is also distinctly easier to install than tiles – a factor that can save hundreds of pounds in the long term and gives the purchaser maximum convenience when it comes to the timing, placing and overall look of their shower wall.
Measurements are Key
Precise and careful measuring of your projected shower wall area is the very foundation of successful shower wall installation. Wait until your current bathroom wall has been demolished before you measure, and always measure twice for accuracy.
If measuring for a corner shower, measure along the two adjoining walls and make sure that the radius around their point of connection is free from obstruction. For a cubicle or three-walled shower, there are three main points of measurement:
Width – from wall to wall at both the top and bottom of the shower;
Height – from the base to the top of the wall on both sides;
Depth – from the back wall of the shower to the front of the enclosure, on both side walls.
If you get two different measurements for each dimension, be sure to use the larger measurement.
Prepare Walls Thoroughly
Ensure the wall surfaces are fully prepared before you start to fit your panels. This involves them being fully dry, free from dampness and moisture; wallpapers and all other fabrics removed, and any surrounding ceramic tiles degreased.
Use A High-Quality Sealant
The brand of sealant you use can make or break the life and serviceability of your shower wall. Make sure you are using a high-quality sealant that can withstand high water pressure and the rapidly changing conditions your panels will inevitably endure, like dampness, humidity, dryness, and coolness. It should have a definite ‘elastic’ quality about it, which will ensure it remains firm during the natural expansion and contraction of your panels.
Are Your Walls and Panels Compatible?
If you are installing tongue and groove-type panels (designed for easy alignment), or your walls are uneven, you will need to attach battens to your wall panels before affixing them. However, this is not necessary if you are using square-edge panels only, or are fixing them to plasterboard or a plastered wall. If you are unsure, don’t hesitate to consult with your supplier or a shower wall expert to get a second opinion on the condition of your walls and find the best method.
Leave Room for the Essentials
Be sure to leave about 3-4mm clearance space around all pipes and accessories when measuring and cutting your shower wall panels. This will make you’re (and your plumber’s!) life a lot easier when it comes to doing essential bathroom maintenance work or accentuating your shower stall with chosen stylish details.
Poor installation of shower wall paneling can lead to future problems such as bowing, color fading, or wear across the panel joints due to water damage, so it is important to consult a shower wall professional about any aspect of your shower wall installation you are unsure of.
If most of this article read like a foreign language to you, it may be better yet to choose a supplier that will offer an installation service included with your product to have full peace of mind. A shower wall comes with an array of benefits, both in style and practicality, and it would be a real shame to miss out on these benefits due to a sloppy installation.


