
 by
If you live in a period home with timber sash windows, you know the feeling. A cold draught creeps in around the window even when it is shut. Curtains move on a still day. The room never quite stays warm, no matter how high you turn the heating up. Sash windows are beautiful. They are one of the defining features of Victorian, Georgian and Edwardian homes across the UK. Builders designed them long before draught seals existed, and most of them leak air.
The good news is that sash window draught proofing is one of the best-value improvements for a period home. The work ranges from a £5 roll of foam strip to a full professional overhaul. You can fit the foam strip yourself in an afternoon. This guide covers how to find the draughts and the DIY methods that actually work. It also explains what professional draught proofing involves and costs. Finally, it covers the listed-building rules you need to know before you start.
Why Do Sash Windows Let in Draughts?
A sash window works by sliding one frame up and down past another inside a box frame. Weights on cords hidden in the frame counterbalance it. That sliding action needs clearance. Typically, there is around a 3mm gap between the sash and the frame. That gap is where the cold air comes in. Over decades, the problem gets worse. Paint builds up and then cracks. Staff beads and parting beads wear and shrink. Sash cords stretch, the timber moves with the seasons, and putty dries out and falls away. The result is a window that rattles in the wind and sticks in summer. It lets in a steady stream of cold air all winter.
The draughts usually come from a few specific places. Check the gap between the two sashes where they meet in the middle. Look at the sides where the sashes slide in the box frame. Check the top and bottom edges, and the gap between the frame and the wall. Finding which of these is the worst offender is the first step, because each one has a different fix. Draughts are also a clue to other window problems. If your sashes are also misting up, read our guide to condensation on windows every morning. It explains why that happens and what to do about it.
How to Find the Draughts
Before you buy anything, spend ten minutes finding exactly where the air is coming in. There are three simple tests, and they all work:
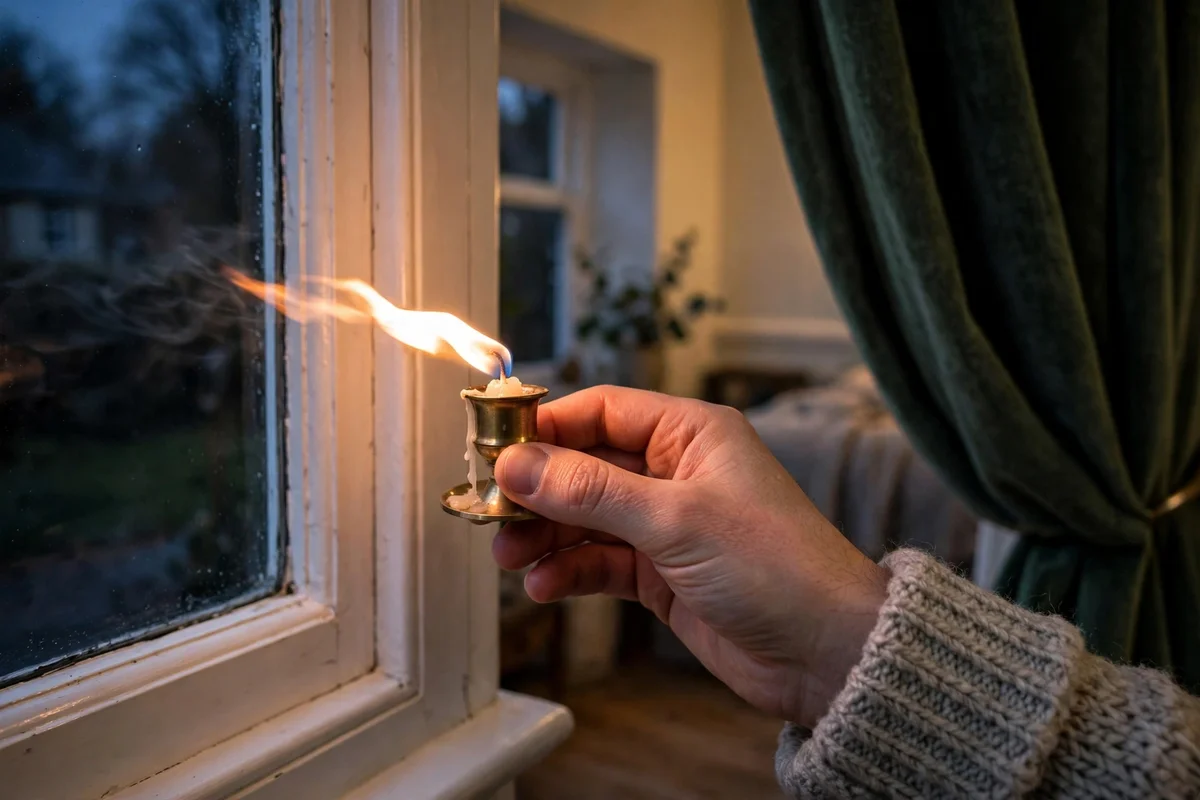
- The candle test. On a windy day, hold a lit candle slowly around the edges of the closed window. A stick of incense works too. Move along the meeting rails, the sides, the top and the bottom. Where the flame flickers or the smoke drifts sideways, air is coming in. Keep the candle well away from curtains, and never leave it unattended.
- The hand test. Wet the back of your hand and hold it near the window edges. Even a small draught feels cold on damp skin, and you can map the worst spots by feel.
- The paper test. Close the window on a thin piece of paper. If you can pull the paper out easily, the seal at that point is poor. Try it at several points around the sash — the gap is rarely even all the way round.
Check every sash window in the house, not just the one you notice most. Draughts add up across a whole house, and the window you never sit near can be the worst one. Also check whether the sashes rattle, stick, or have broken cords. If the window does not close properly, no draught seal will fix it until someone repairs the window itself.
DIY Draught Proofing Methods Compared
There are several ways to draught proof a sash window yourself. Here is how they compare:
| Method | Typical cost per window | How long it lasts | Difficulty | Best for |
|---|---|---|---|---|
| Self-adhesive foam strips | Typically £3–£5 | 1–3 years | Very easy | Quick, cheap fix on casement edges and the meeting rail |
| Brush (pile) seals | Typically £5–£15 | 3–5 years | Easy | Sliding sashes — the best DIY option for sash windows |
| V-strips (wiper strips) | Typically £5–£10 | 3–5 years | Easy | Sides and top of sashes where a brush seal will not fit |
| Silicone sealant / decorator’s caulk | Typically £3–£7 a tube | 5–10 years | Moderate | Gaps between the frame and the wall — not moving parts |
| Temporary window sealer (e.g. Gapseal) | Typically £15–£25 a window | One winter | Easy | Sealing a window shut for the cold months |
| Insulating window film | Typically £10–£20 a kit | One season | Moderate | Single-glazed sashes, cutting heat loss through the glass |
| Heavy thermal curtains | Typically £50–£200+ | Many years | Very easy | All sash windows, especially large ones |
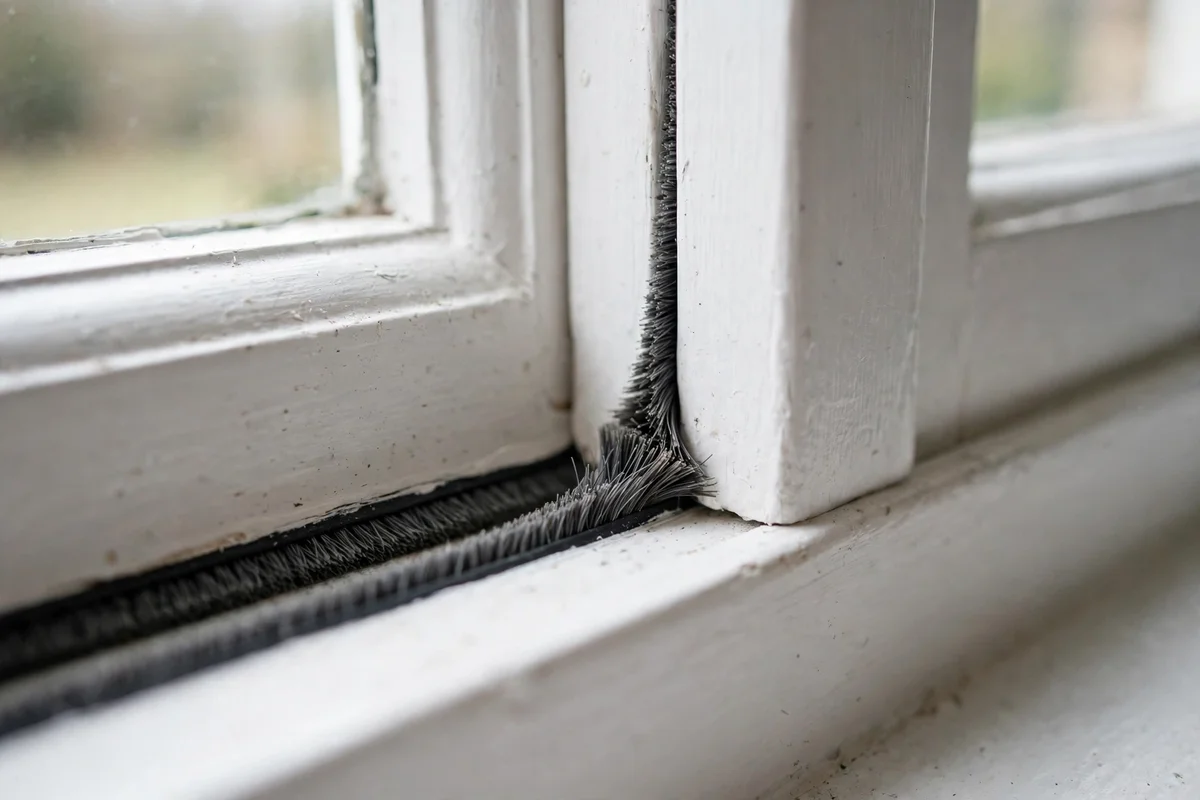
For most sash windows, brush seals are the sweet spot: they are cheap, they last for years, they do not stop the window opening, and they are designed for exactly the sliding gap a sash window has. Foam strips are cheaper still but compress and fall off within a year or two, and they can make a sash stick. Sealant is excellent for the fixed gaps around the frame. But never use it on a part of the window that needs to move. Once it is in place, it is very hard to remove. A sealed-shut sash is a fire safety problem in a bedroom.
How to Fit Brush Seals Yourself
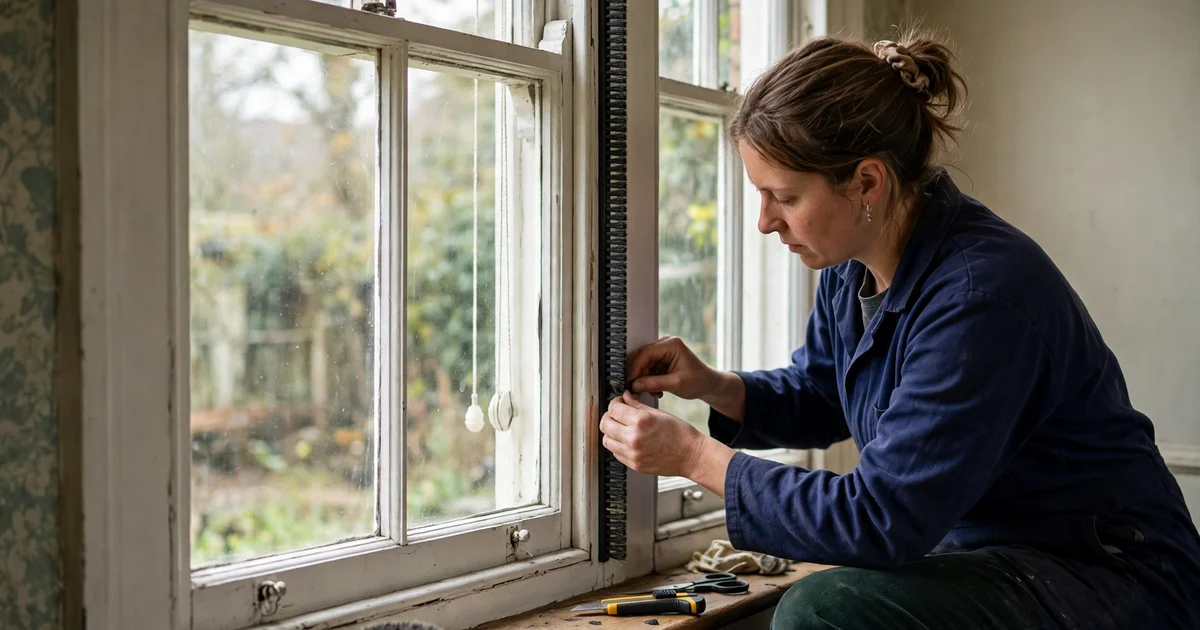
Fitting brush seals to a sash window is a straightforward job that takes around an hour per window once you have done one. You will need a brush seal kit (carrier strip with pile, sold by the metre at DIY shops and online), a sharp knife or scissors, a tape measure, and a screwdriver.
Fit the brush seals step by step
- Clean the surfaces. Brush out dust and loose paint from the channels where the seal will sit. The seal needs a clean surface to grip, and paint flakes will stop it seating properly.
- Measure each side. Measure the sides of the sash, the top and the meeting rail separately. Cut the seal slightly long and trim it to fit once it is in place. It is easier to trim a seal that is too long than to stretch one that is too short.
- Fit the sides first. Press or screw the carrier strip into the groove or onto the staff bead along each side of the sash, with the bristles pointing towards the sash. The bristles should just touch the moving sash. Press them flat and the window will be hard to open. Leave a gap and air will still get through.
- Do the meeting rail. Fit a brush seal along the meeting rail where the two sashes overlap in the middle. This is often the worst draught of all, and it is the easiest one to forget.
- Test the window. Open and close the sash several times. It should move smoothly with a little more resistance than before, and it should not rattle when you tap the frame. If it sticks, trim the bristles back slightly or re-seat the strip.
- Repeat the candle test. Hold a candle around the edges again. The flame should barely move. If one spot still flickers, that seal needs adjusting.
Do not fit the seal too tightly
One common mistake is fitting the seal too tightly. A sash window that will not open is worse than a draughty one — bedrooms need an opening window for ventilation and as a fire escape. If the sash is already stiff, ease it first: clean out paint build-up on the running surfaces, and rub a little candle wax or silicone spray along the channels.
How to Fit Self-Adhesive Weatherstrips
Self-adhesive foam or rubber weatherstrips are the quickest method of all, and they suit the top and bottom edges of the sash where a brush seal is awkward to fit.
- Clean the surface thoroughly and let it dry — the adhesive will not stick to dusty or damp paint.
- Measure and cut the strip to length, then peel back a short section of the backing paper.
- Press the strip into place a little at a time, keeping it straight and avoiding stretching it as you go. A stretched strip shrinks back and leaves a gap at the end.
- Close the window gently and check that it shuts fully. If the sash will not close, the strip is too thick for that gap — use a thinner one.
Foam strips are best thought of as a one- or two-winter fix. They compress permanently over time, the adhesive fails in damp conditions, and they need replacing more often than brush seals. They are still worth it as a fast, cheap improvement, especially if you are renting or you want to test how much difference draught proofing makes before spending more.
Temporary Fixes for Winter
If you want a warmer house this week without taking a window apart, a few temporary options help:
- Temporary window sealer. Products such as Gapseal are lengths of foam that push into the gap around a sash. You can pull them out again in spring. They suit a window you do not need to open during the winter.
- Insulating window film. A clear film stretched over the inside of the frame and shrunk tight with a hairdryer adds a still layer of air over single glazing. It cuts heat loss through the glass, though it does nothing for the draughts around the frame.
- Heavy curtains. Thick, lined curtains hung close to the window make a real difference. Hang them with a pelmet or a track that seals at the top. Warm air then stays in the room instead of falling down the cold glass and pooling by the window. Our guide to blackout vs thermal curtains explains which type suits a draughty period home best.
- Draught excluder cushions. The old-fashioned sausage-shaped draught excluder along the bottom of the window still works, and it costs almost nothing.
Temporary fixes are useful, but they are not a substitute for sealing the gaps properly. A brush seal fitted once does the job for years. With a temporary sealer, you have to buy and fit a new one every winter.
Professional Sash Window Draught Proofing: What It Involves and What It Costs
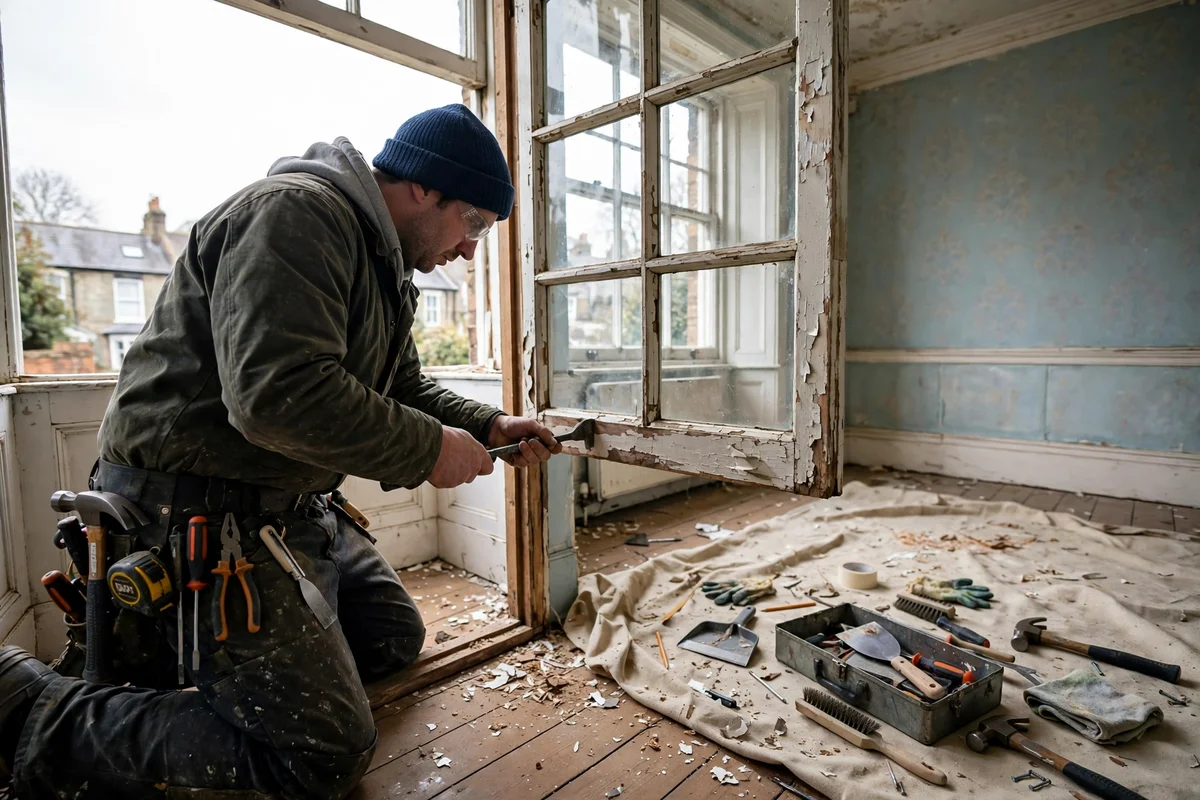
Professional draught proofing is a different job from a DIY brush seal. A specialist removes the sashes from the frame. They fit routed-in draught seals into grooves cut into the timber. The specialist also replaces worn staff and parting beads and fits new sash cords. They rebalance the weights, ease and plane the sashes so they run smoothly, and touch up the paint. The window comes back operating as it should have done when it was new — smooth, quiet and draught-free.
Typical UK costs for a full professional draught proofing service are:
- Per window, outside London: typically around £250–£450, including new seals, cords and beads.
- Per window, in London: typically around £400–£650, with some firms charging a flat rate of around £650 + VAT per window.
- Lead time: typically 4–6 weeks from booking to fitting. Most specialists book up well ahead in autumn.
One thing worth knowing: a government energy-saving measure covers draught proofing. Firms charge the work at the reduced 5% VAT rate rather than the standard 20%. Ask the firm to confirm this on the quote. Also ask exactly what the quote includes. Some quotes cover only the seals, while others include new cords, rebalancing and touch-up painting. Firms usually charge broken glass, unusually large windows and new hardware as extras. If your sashes also suffer from rot, the specialist will tell you. If the frame has rotted beyond repair, see our guide to what causes damp on internal walls. It explains how to tell damp damage from a simple draught problem before you commit to repairs.
Draught Proofing vs Secondary Glazing vs Replacement
Sealing the gaps is usually the right first step. It is worth knowing how it compares with the bigger options:
- Draught proofing stops air leaking around the sashes. It is the cheapest option, it keeps the original window, and it cuts heat loss noticeably. It does not fix heat loss through single glazing itself.
- Secondary glazing adds a second pane inside the existing window. It cuts heat loss and noise much further and is often the best option for period homes, especially where replacement windows are not allowed. It costs considerably more than draught proofing, typically several hundred pounds per window.
- Replacement with double glazing is the most expensive option. Listed buildings and conservation areas often do not permit it. Even where the rules allow it, replacing a repairable sash window throws away original fabric. That fabric adds character and value to a period home.
The order that works best for most period homes is: repair the window, then draught proof it, then consider secondary glazing, and replace only as a last resort. Conservation bodies such as Historic England also recommend that order. They note that you can usually repair traditional windows at a cost significantly less than replacement. Many historic components keep working after 150 or even 250 years.
Listed Buildings and Conservation Areas
If you live in a listed building or a conservation area, the rules are different. This is the part people most often get wrong. Draught proofing itself usually counts as a repair. Fitting brush seals and weatherstrips does not normally need listed building consent. It does not change the appearance of the window. But that is not a guarantee: if the work involves cutting grooves into original timber, replacing beads, or changing the glass, your local council may take a different view.
Replacing a sash window, changing the glazing, or fitting secondary glazing usually does need consent. Before you book any work on a listed building, check with your local council’s conservation officer. A quick email with photos is usually enough to get a clear answer. It is far cheaper than undoing work that should not have been done. If you are unsure whether your home has listed status, you can check on the Historic England website. And never let anyone talk you into replacing original sash windows in a listed building without consent. Unauthorised work on a listed building is a criminal offence. The council can make you reinstate the original windows at your cost.
Will Draught Proofing Stop Condensation?
This is a common worry, and the honest answer is: mostly, but with a caveat. Draught proofing stops cold air coming in, which keeps the room warmer and the glass warmer, and warmer glass mists up less. But if you seal a house too tightly with no ventilation, it can trap moist air inside. That moisture still has to go somewhere — often onto the coldest surface, which is still the window. If your windows are already wet every morning, read our guide to condensation inside double glazing first. Then read our guide to black mould on window sills. Do both before you seal everything up. The answer is usually draught proofing plus controlled ventilation. Fit a trickle vent, open windows briefly each day, or use an extractor fan in the bathroom and kitchen. Do that rather than draught proofing alone.
Frequently Asked Questions
How much does sash window draught proofing cost in the UK?
DIY brush seals cost typically £5–£15 per window plus an hour of your time. A full professional service typically costs £250–£450 per window outside London and £400–£650 in London, usually charged at the reduced 5% VAT rate.
Can I draught proof sash windows myself?
Yes — fitting brush seals or self-adhesive weatherstrips is a straightforward DIY job on a window that is otherwise in good condition. Leave it to a professional if the sash sticks, rattles badly, has broken cords, or needs the frame taken apart.
Will draught proofing stop my sash windows rattling?
In most cases, yes. Rattling is caused by the same loose gap that lets the draught in, and a properly fitted brush seal takes up the slack. If the window still rattles after draught proofing, the beads or the sash itself may be worn and need attention.
Can I draught proof sash windows in a listed building?
Usually yes — brush seals and weatherstrips are generally treated as repairs and do not normally need listed building consent. But check with your local council first if the work involves cutting into original timber or changing the glass, as the rules vary by property.
How much can I save on heating by draught proofing sash windows?
Draught proofing can cut air leakage through a sash window by a third to a half, and the Energy Saving Trust suggests a typical UK home can save around £85 a year by sealing windows and doors. The real saving depends on how many windows you have and how bad the draughts were to start with.