
 by
Laminate is the most beginner-friendly hard floor you can lay — no glue, no nails, just click-together boards floating over underlay. A first-timer can do a bedroom in a weekend. This guide covers the tools, the preparation most beginners skip, the laying process step by step, and the mistakes that ruin otherwise good jobs.
Tools You Need
- Tape measure, pencil, square and a chalk line or straight edge
- Laminate cutter or fine-toothed hand saw / jigsaw (a dedicated cutter is cleaner and faster)
- Tapping block, pull bar and spacers (often sold as a fitting kit for a few pounds)
- Knee pads — non-negotiable; your knees will thank you
- Underlay, vapour barrier (for concrete floors), beading/scotia and thresholds — see beading vs scotia
Preparation: The Boring Bit That Decides Everything
- Acclimatise: leave the laminate in the room for 48 hours. Skipping this causes gapping later.
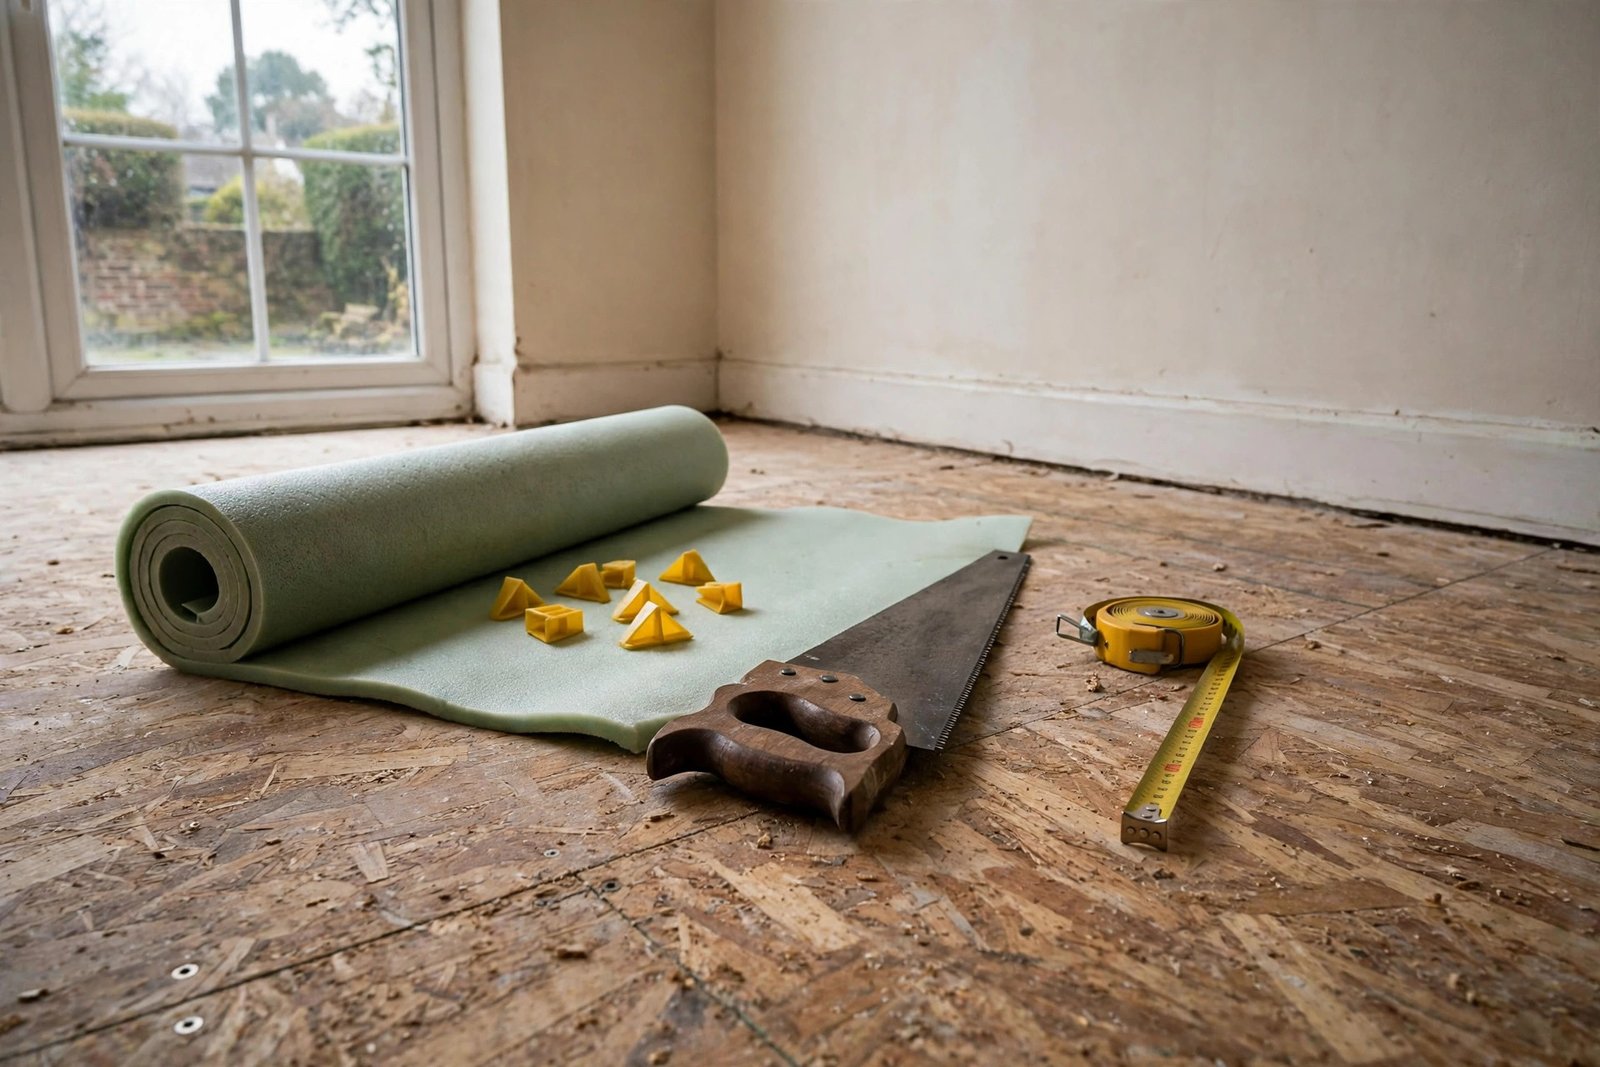
- Subfloor: must be clean, dry and level (within ~3mm over 2m). Fill dips, sand bumps. This is the step beginners skip and regret.
- Underlay: roll it out perpendicular to the laying direction, tape the joins. Do not double-layer.
- Plan the layout: lay boards parallel to the longest wall or the main light source. Stagger joints by at least 30cm — never line them up.
- Remove skirting or plan trim: decide now whether you are lifting skirtings or using beading — it affects your expansion gap.
Laying: Step by Step
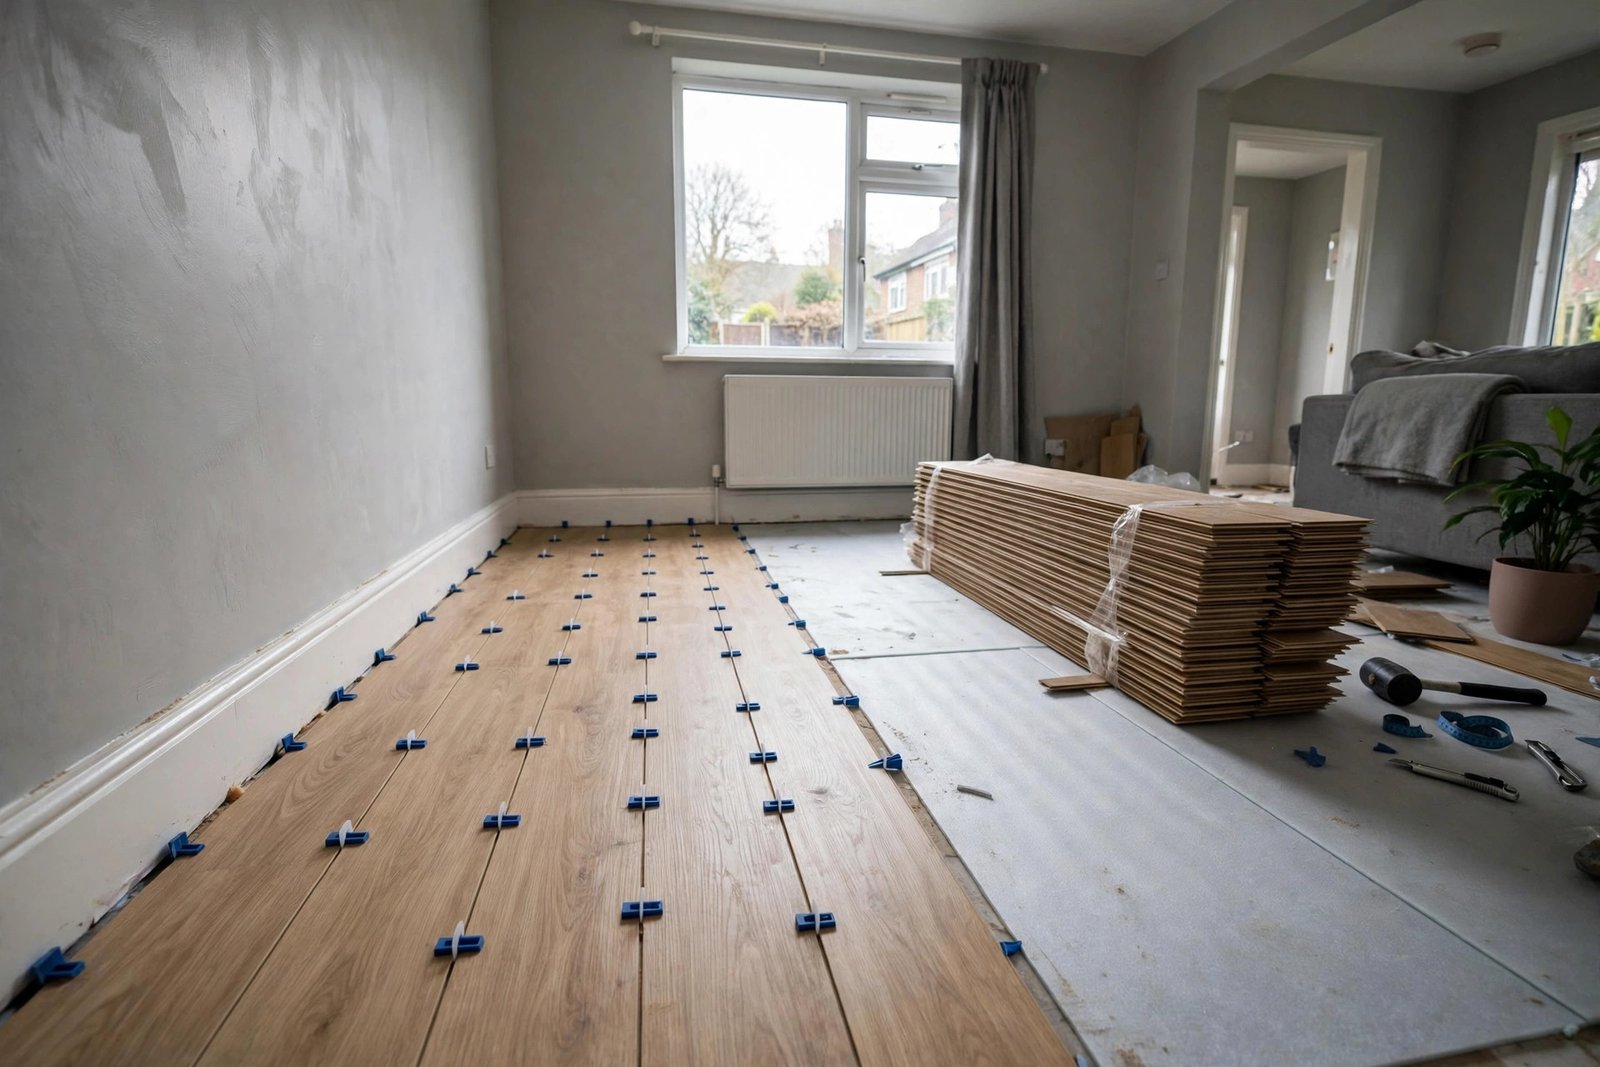
- 1. First row: spacers (10–12mm) against the wall, groove facing the wall. Click boards end-to-end.
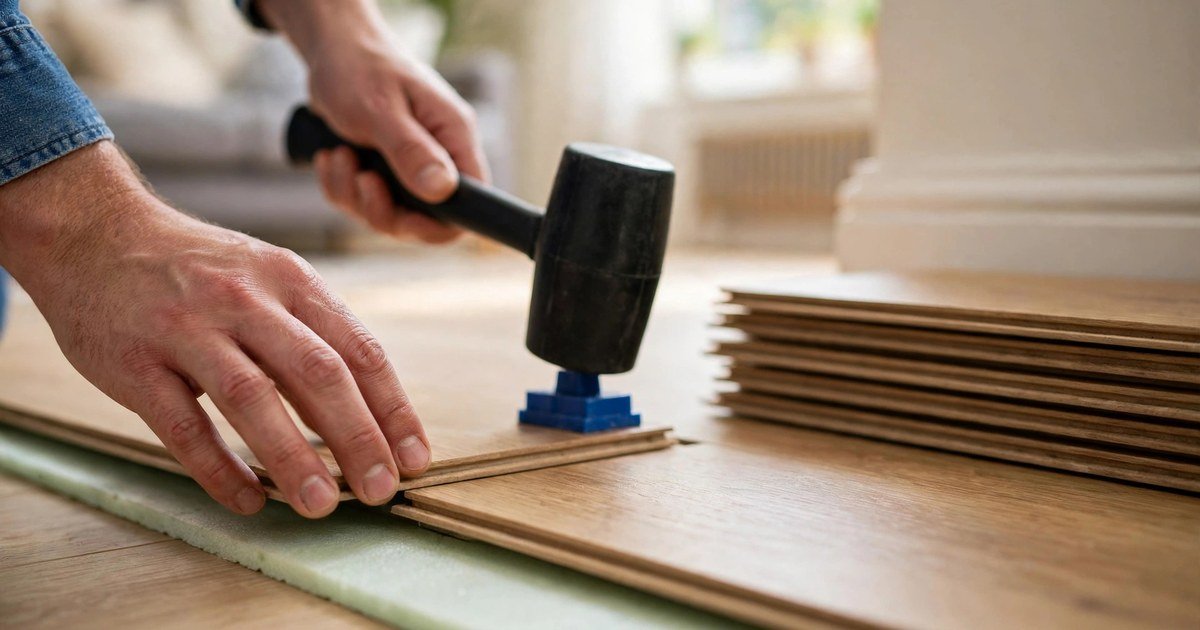
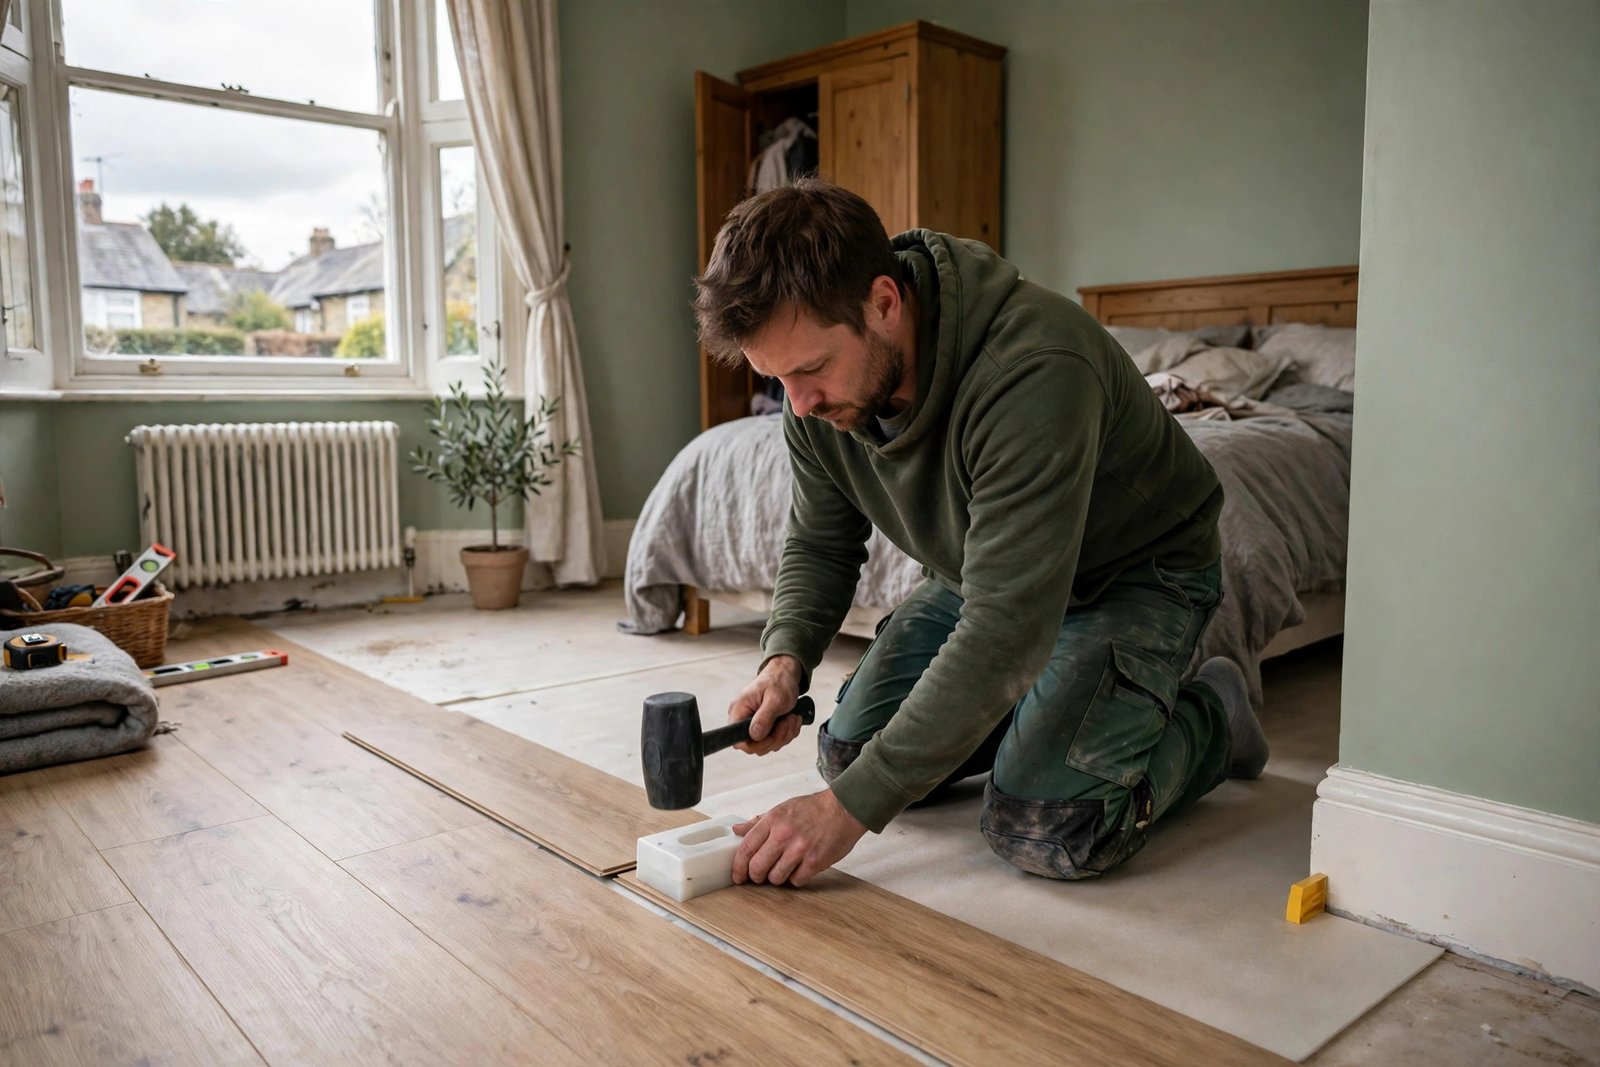
- 2. Subsequent rows: angle each board into the previous row’s groove and drop it flat — you should feel/hear the click. Tap gently with the block, never hammer directly on the board.
- 3. Stagger: start each row with the offcut from the previous one (if over 30cm) for a natural stagger and minimal waste.
- 4. Cutting: measure twice, cut once; boards cut face-down with a jigsaw to avoid chipping the decor layer (or face-up with a laminate cutter).
- 5. Tricky bits: door frames — undercut the architrave with a saw so boards slide underneath; pipes — drill a hole 20mm larger than the pipe and cover with a collar.
- 6. Last row: usually needs ripping lengthways — measure the gap minus the expansion allowance.
- 7. Finish: remove spacers, fit beading or scotia, fit thresholds at doorways.
Beginner Mistakes to Avoid
- No expansion gap: the #1 DIY failure — boards need 10–12mm at every wall and fixed object or they will buckle.
- Hammering boards directly: always use a tapping block; mushroomed edges never click properly again.
- Ignoring the subfloor: every bump telegraphs through and every dip flexes the joints until they break.
- Wrong underlay direction or doubling up: one layer, taped joins.
- Starting with a full board against an out-of-square wall: scribe the first row if needed.
Wondering whether DIY is worth it versus the alternatives? See LVT vs laminate and laminate costs per m² to price both routes.
Frequently Asked Questions
How long does it take a beginner to lay laminate?
A 12m² bedroom: one full day for a first-timer. A 20m² living room: a weekend. Speed comes with the second room.
Do I need to remove skirting boards?
Not necessarily — beading or scotia covers the gap. But removing skirtings gives the smartest finish if you are redecorating anyway.
Can I lay laminate over carpet?
No — uplift it. Laminate over underlay over carpet is too soft; joints will fail. Over old vinyl or tiles is usually fine if level.
Which direction should laminate run?
Parallel to the longest wall, or towards the main window — whichever looks best. Consistency matters more than the rule.
How much wastage should I allow?
10% for straightforward rooms, 12–15% for rooms with bays, alcoves or diagonal laying.
The Bottom Line
Measure, prepare the subfloor, respect the expansion gap, and take your time with the first rows — the rest is repetition. For the full flooring picture, see our complete UK flooring guide.